Codex Skills: How to Find, Install and Create Agent Skills in Codex
Skills turn a workflow you repeat into something Codex runs the same way every time. Here is where they live, how to call them, and how to write your first one.
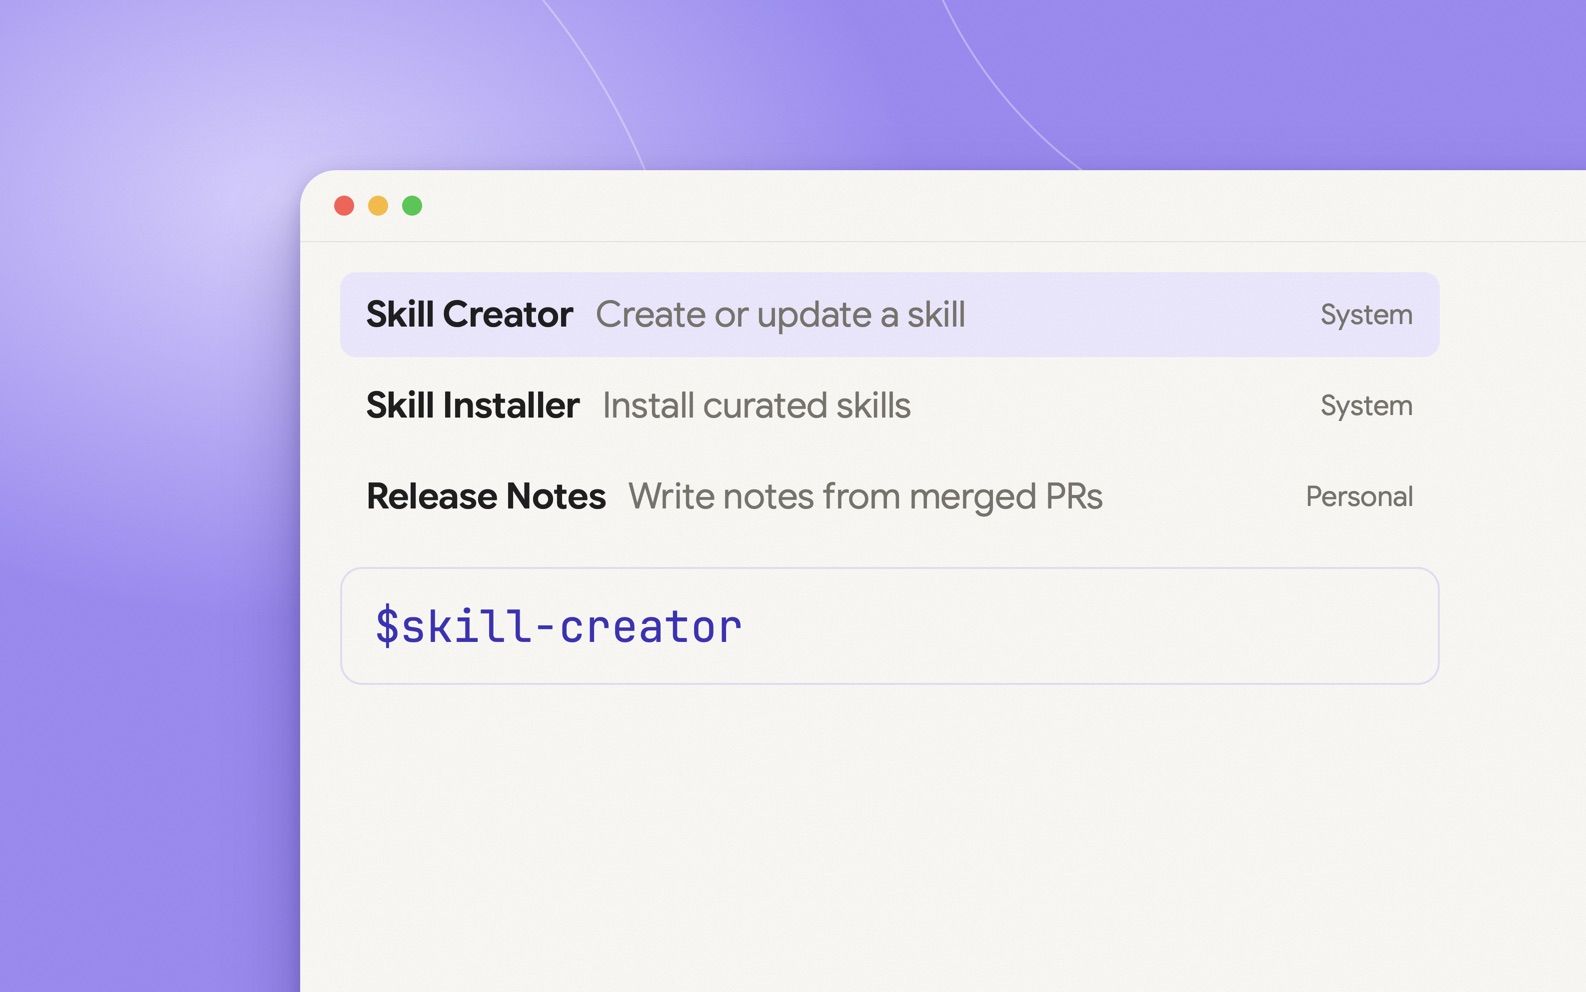
Codex skills are folders with a SKILL.md file that teach Codex a specific workflow, like opening a PR or fixing failing CI. Codex loads only each skill's name and description until it needs one, so a dozen skills cost little context. This guide covers the two built-in skills that matter most, $skill-installer and $skill-creator, the folders Codex scans, and the config that switches a skill off.
Best for
- Developers who use Codex CLI, the IDE extension or the ChatGPT desktop app
- Teams that want shared, repeatable agent workflows in a repo
- Claude Code users moving skills over to Codex
Requirements
- Codex CLI, the Codex IDE extension or the ChatGPT desktop app, recent version
- A ChatGPT plan that includes Codex
- A text editor for SKILL.md files
What Codex skills are
A Codex skill is a folder that packages instructions, resources and optional scripts for one task. OpenAI's docs describe skills as the authoring format for reusable workflows, and they follow the open Agent Skills standard, the same format Claude Code uses. A skill you write for one tool usually needs few or no changes for the other.
Skills are cheap to keep around because of progressive disclosure. Codex starts with each skill's name, description and file path, and reads the full SKILL.md only when it decides to use that skill. By default the starting list uses at most 2% of the model's context window. With many skills installed, Codex shortens descriptions first and may drop some skills from the list, with a warning.
See and call the skills you already have
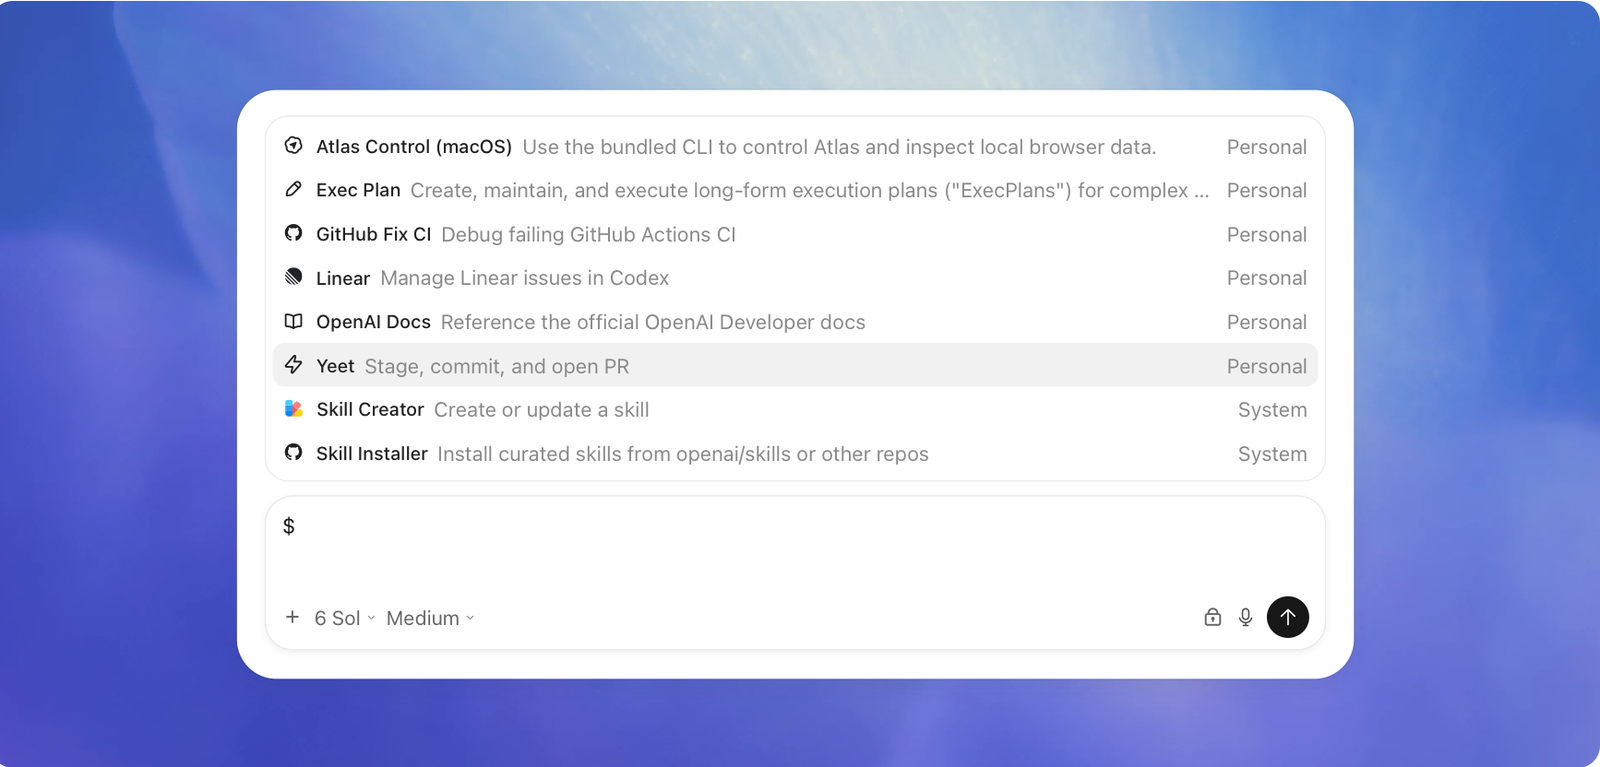
In Codex CLI or the IDE extension, run /skills or type $ in the prompt to see every skill Codex can load. Pick one to mention it in your prompt; that is an explicit call. In the ChatGPT desktop app, open Skills in the sidebar, or type @ in a chat.
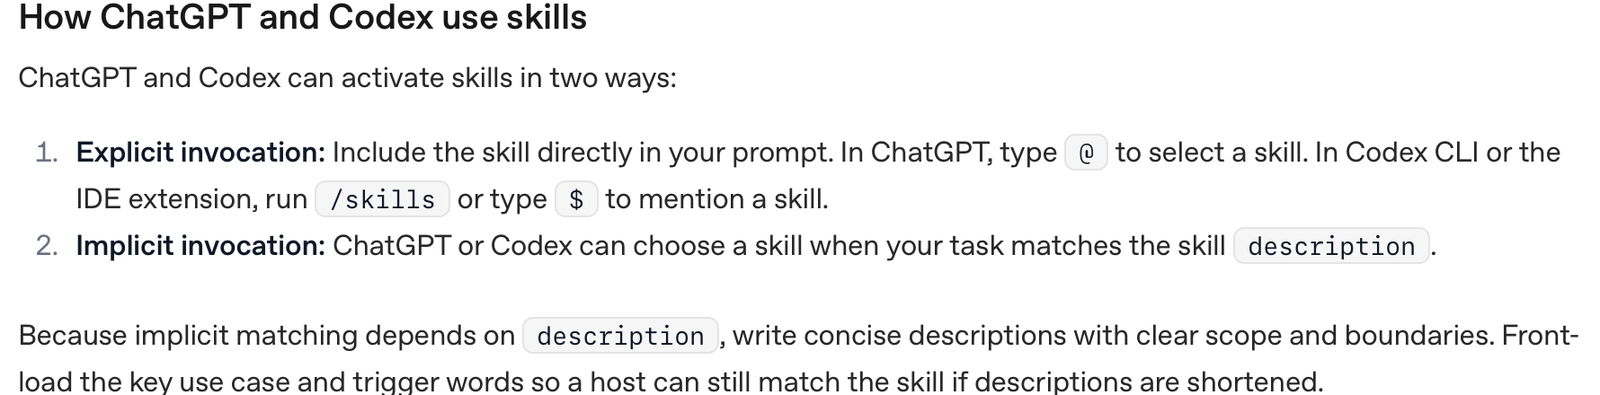
Codex can also pick a skill on its own when your request matches the skill's description. That is implicit invocation, so the description decides when a skill fires. If a skill never runs on its own, the description is usually too vague.
Install a skill with $skill-installer
Codex ships with a system skill called skill-installer. Call it with the name of a curated skill. OpenAI's docs use the Linear skill as the example:
You can also point the installer at a skill folder on GitHub by URL. If a new skill does not show up in /skills, restart Codex.
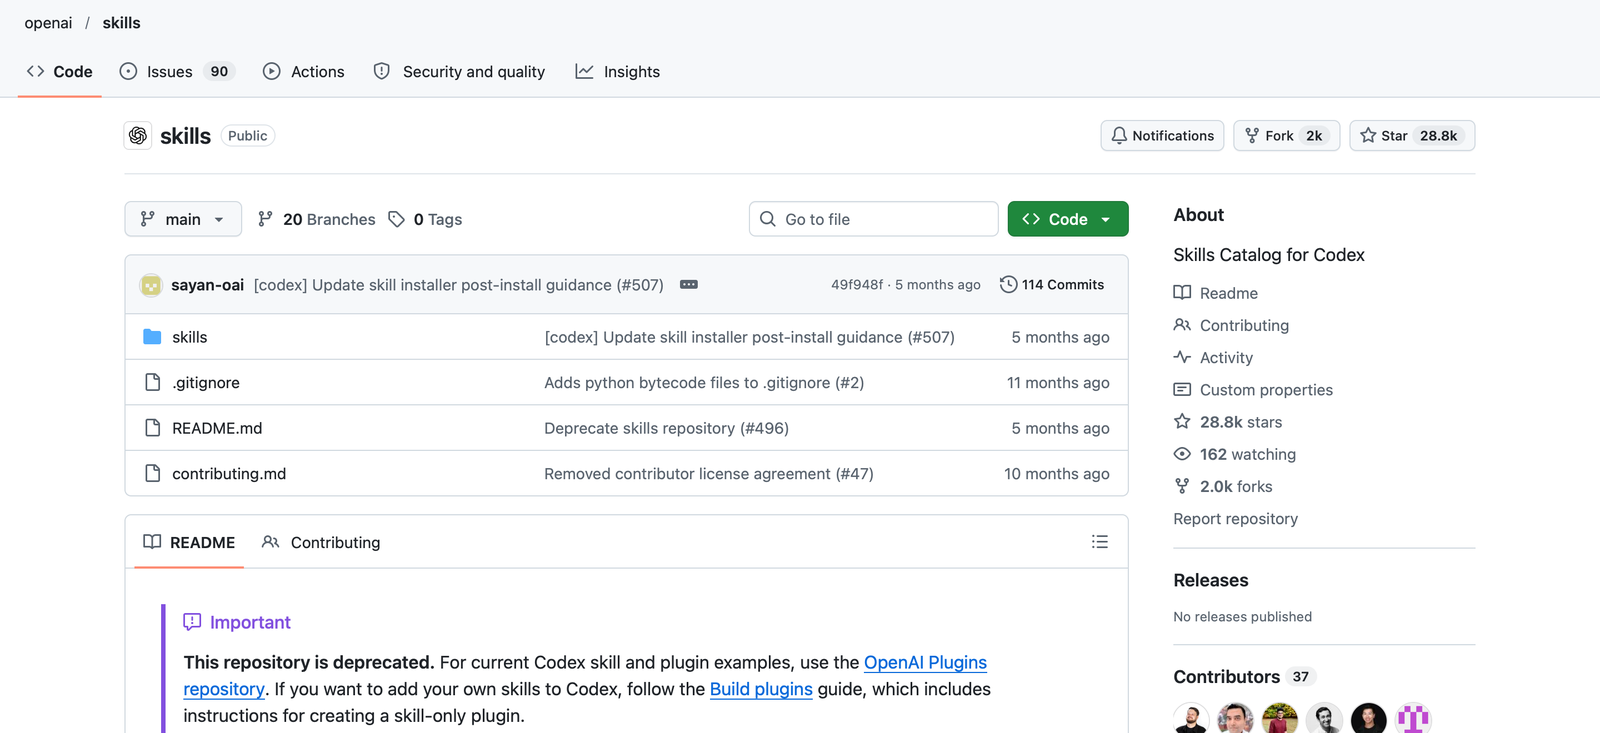
The openai/skills repository on GitHub, which many guides still link to, is now marked deprecated. OpenAI points to its Plugins repository for current examples, and recommends packaging a skill as a plugin when you want to share it beyond one repo.
Write your first skill
The fastest route is the built-in creator. Type $skill-creator in Codex. It asks what the skill does, when it should trigger, and whether it should stay instruction-only or include scripts. Instruction-only is the default, and it is the right choice for a first skill.
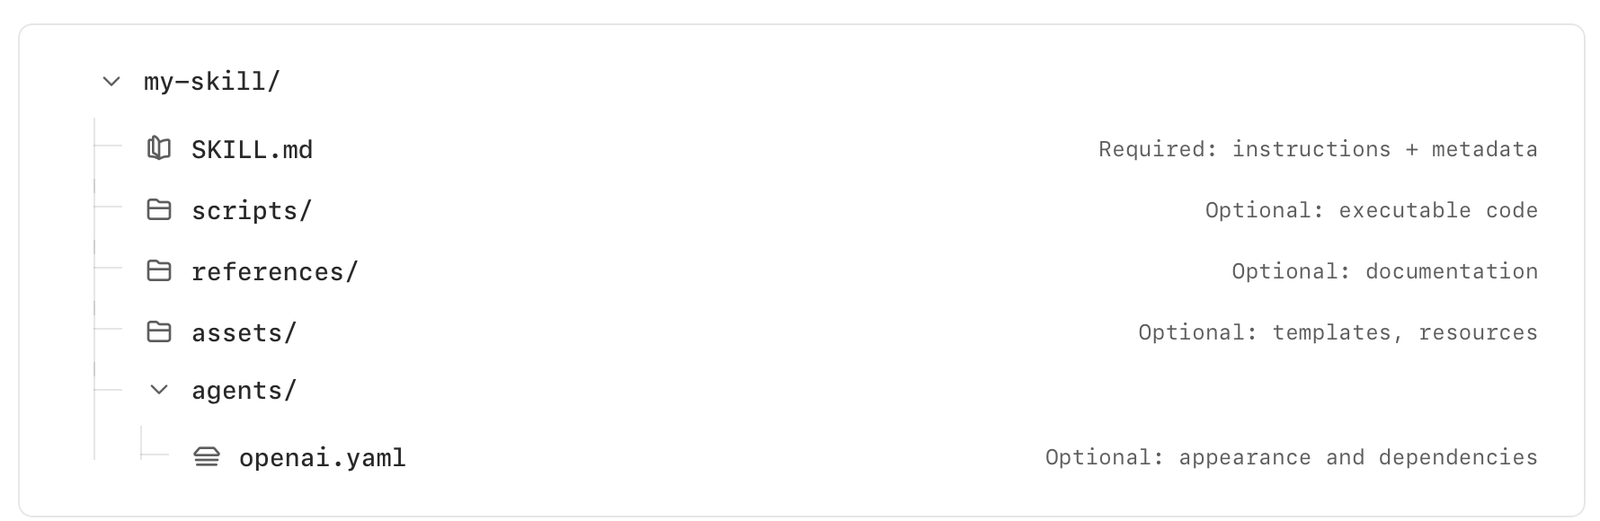
You can also write one by hand. A skill is a folder named after the skill, with a SKILL.md file inside. Only SKILL.md is required; scripts, references, assets and an agents/openai.yaml file for display settings are optional.
Here is a complete SKILL.md you can adapt. The frontmatter needs name and description. Under the open standard, name is lowercase letters, numbers and hyphens, up to 64 characters, and matches the folder name; description can run to 1,024 characters.
Write the description the way OpenAI suggests: put the use case and trigger words first, and say when not to use the skill. Codex shortens descriptions when many skills are installed, so the first sentence has to carry the match. Codex detects new and edited skills automatically; restart it if a change does not appear.
Put the skill where Codex will find it
Codex looks for skills in .agents/skills folders, not inside .codex. In a Git repository it scans .agents/skills in every folder from where you launched Codex up to the repo root. Your personal skills go in $HOME/.agents/skills, and admins can install machine-wide skills in /etc/codex/skills.
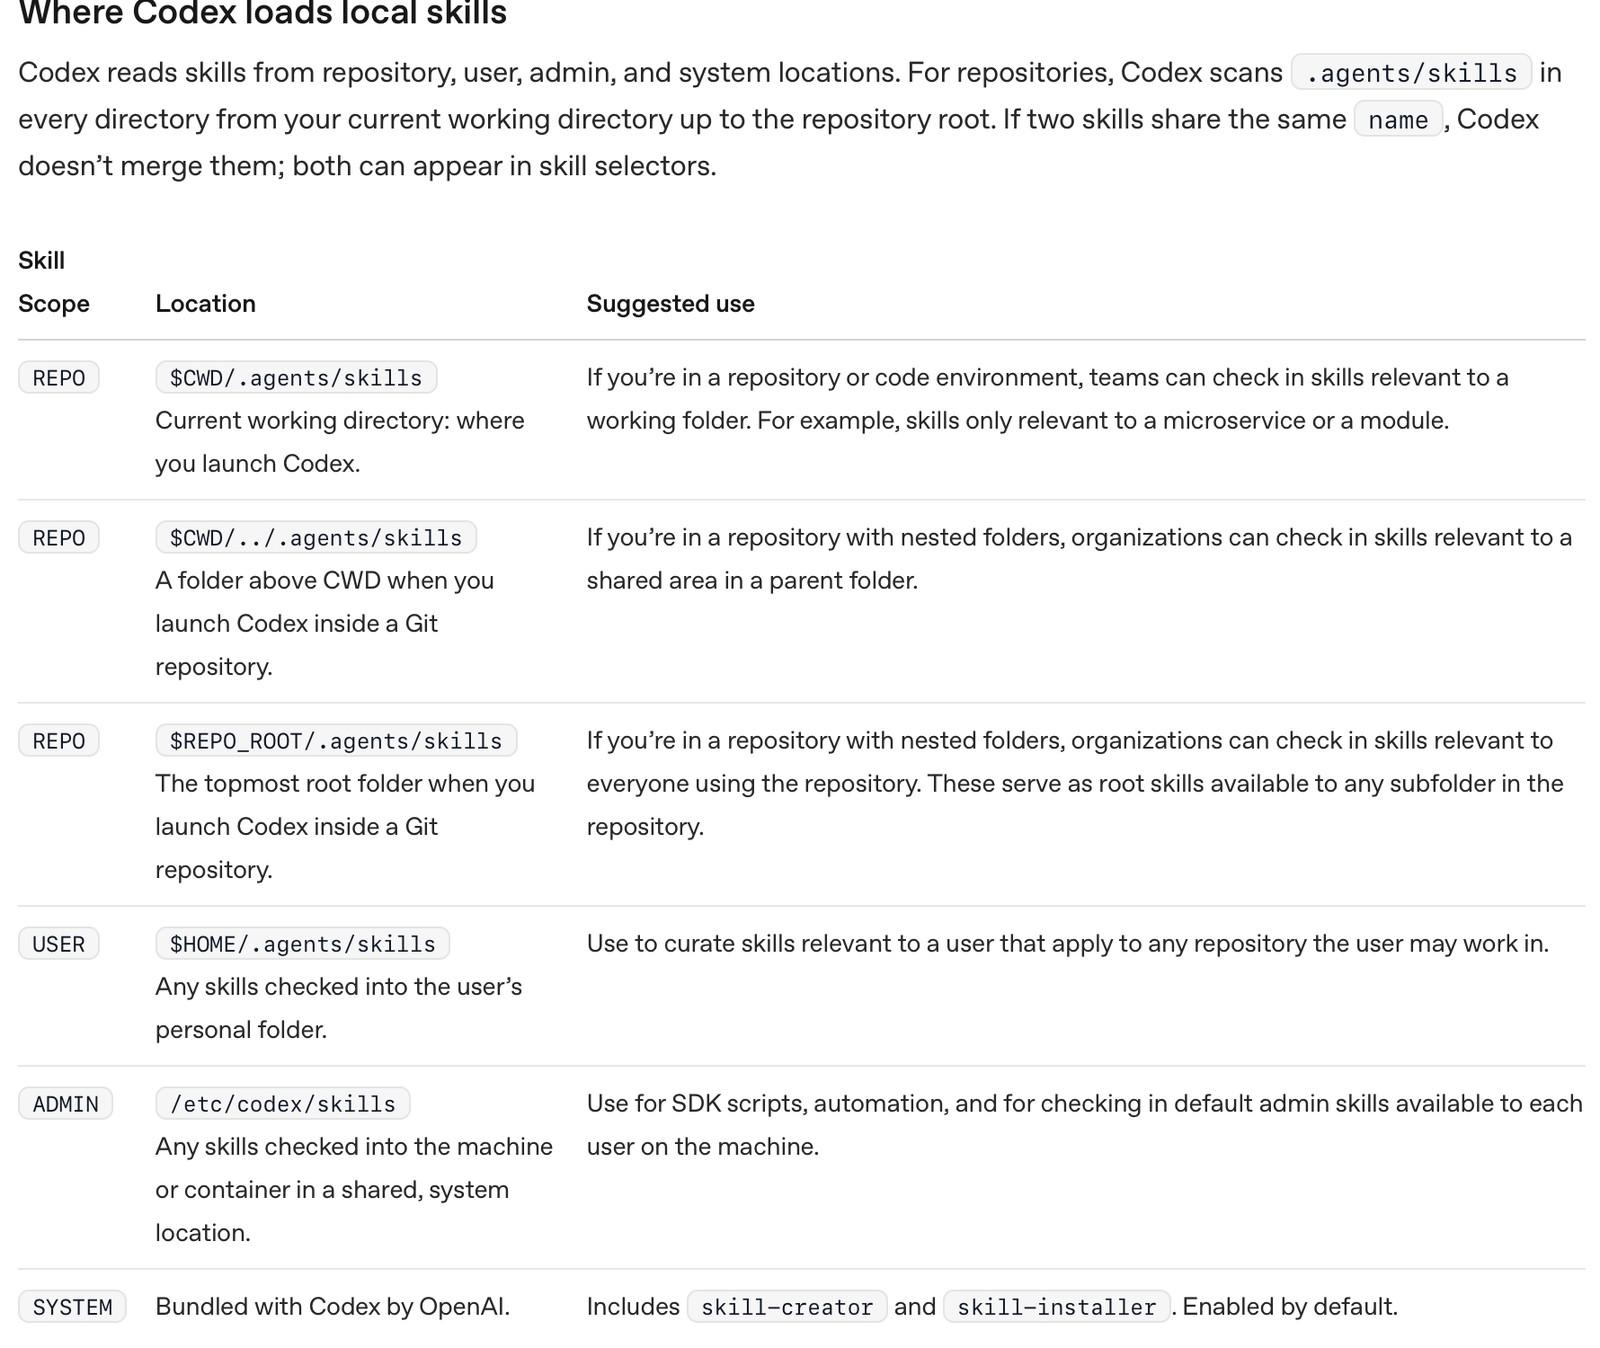
A simple rule for choosing:
- Only you need it, in every project: $HOME/.agents/skills/<skill-name>/SKILL.md
- Your whole team needs it in one repo: <repo-root>/.agents/skills/<skill-name>/SKILL.md, committed to Git
- It only applies to one service in a monorepo: put .agents/skills inside that service's folder
- Two skills with the same name are not merged; both appear in the picker, so rename one
Turn a skill off without deleting it
Add a [[skills.config]] entry to ~/.codex/config.toml. Use one selector per entry: path, pointing at a single SKILL.md, or name, which matches every skill with that name. If several entries match, the last one wins.
To switch off the bundled system skills for one project, add this to that project's trusted .codex/config.toml. Restart Codex after any config change.
Bringing skills over from Claude Code or Cursor
Because both tools use the Agent Skills format, a Claude Code skill is mostly a copy job: move the folder into an .agents/skills location and check that the name and description fields are there. Codex CLI can also do it for you. Type /import in an idle session and choose Claude Code or Cursor; imported items include skills. Check each imported skill's description afterward, since that is what decides when it fires.
Before you trust a skill
Sources
Founder and Editor
Brian Weerasinghe is the founder and editor of AI Eating The World, where he covers artificial intelligence, tech companies, layoffs, startups, and the future of work. His reporting focuses on how AI is transforming businesses, products, and the global workforce. He writes about major developments across the AI industry, from enterprise adoption and funding trends to the real-world impact of automation and emerging technologies.